January 26th, 2025
Dr. Mulholland, Md
Are you dealing with extra fat or loose skin around your midsection? Looking to tone up your abdomen area? You’re not alone!
Despite all of the numerous other body contouring procedures that have become available in recent years, the tummy tuck has consistently remained one of the most popular plastic surgeries in North America. Last year, it fell just outside the Top 5, with 123,427 procedures.
At Toronto Plastic Surgeons, we have helped countless people improve their body’s contour and helped them feel better about themselves with a tummy tuck procedure. We offer both women’s and men’s tummy tuck procedures so everyone can achieve their aesthetic goals. However, we would be the first ones to tell you that it’s not for everyone. Other body sculpting procedures may be a better fit to help you reach your goals.
It’s important to have all of the information. So, to help you decide if the tummy tuck is for you, here is what the entire process looks like from start to finish.
Step 1. Find Out if You’re a Good Candidate for a Tummy Tuck
The tummy tuck is the perfect procedure for someone who wants to tone up their midsection. They have an excess of fat and/ or skin that they can’t get rid of through diet or exercise.
It is particularly helpful for someone who recently:
- Had a child
- Lost or gained a large amount of weight
The removal of excess skin is one of the key selling points for this procedure. If you’re looking to just remove fat from your core area, a liposuction procedure may be a better choice to meet your goals. Or, if you’re looking to tone other areas of your body (i.e. arms, legs, face/chin), you should explore other options, as the tummy tuck only targets the core area.
There are also a number of non-surgical body contouring procedures that you might consider, such as:
- BodyFX
- CoolSculpting
- EMsculpt
- Evolve
- Exilis
- SculpSure
- Vanquish
- VelaShape 3
- Venus Freeze
Talk to your body contouring expert to find out which procedure will best help you achieve your goals.
Step 2: Find a Plastic Surgeon
When trying to find a surgeon to perform a tummy tuck surgery in Toronto, you will soon see that you have a lot of options. It may even be a bit overwhelming.
You need to find a qualified and experienced plastic surgeon. Settle for nothing less! The best plastic surgeons are the ones who provide the most natural-looking results, with minimal scarring and downtime.
Our clinic is proud to offer one of Canada’s leading plastic surgeons and experts in body contouring. Toronto Plastic Surgeons has over 20 years of advanced body contouring and tummy tuck experience.
Step 3: Choose the Right Type of Tummy Tuck
If you’re still in the research stage, you may not know the difference between a full and mini tummy tuck.
Here is a quick look at all of your options:
Mini Tummy Tuck/Abdominoplasty
You may have also heard this called a modified abdominoplasty.
This procedure focuses on the area immediately around the belly button, with a single small incision. It can also be performed under local anesthesia or simple oral sedation.
This is most often the best option for people who have gone as far as diet and exercise can take them, and just need a little bit of help to achieve their fitness goals.
Standard/Full Abdominoplasty
This is the most popular procedure and it targets the areas above and below the belly button. It focuses on stretch marks, as well as excess fat and skin, while also tightening the muscles in the abdomen area.
As the name implies, this is more in-depth than mini tummy tucks, and it’s a better fit for people who want to remove the excess skin following pregnancy or obesity.
Extended Abdominoplasty
This procedure takes things a step further and can help people whose extra fat or skin runs to the hips or love handles.
Your surgeon will extend your incision from the flanks to the lower back to address these areas.
Step 4: Your Pre-Operation Preparation
Your surgeon will provide you with a pre-op checklist of things to do before the surgery.
Here are some of the things you will have to do.
- Stop Smoking
You always want to try to quit smoking in the weeks leading up to any type of surgery. 6 weeks would be ideal. This will greatly reduce the odds of any complications. At the same time, abstaining from cigarettes following your surgery will also help you recover as quickly as possible.
- Stop Taking Any Anti-Inflammatory Drugs
You will want to stop taking them 2 weeks before your surgery. This could include Aspirin containing medications such as:
- Heartline®
- Robaxisal® Tablets
- Alka Seltzer®
- Anacin®
- Arthritis Pain Formula
- ASA Tablets
- Excedrin® Extra-Strength Analgesic Tablets and Caplets
- Excedrin® Migraine
You should also talk to your surgeon about:
- Clopidogrel (Plavix)
- Dipyridamole (Persantine)
- Enoxaparin (Lovenox)
- Non-steroidal anti-inflammatory (NSAIDs) (in many versions)
- Ticlopidine (Ticlid)
- Warfarin (Coumadin)
- Stop Drinking Alcohol
You will want to do this at least 1 week leading up to your surgery.
- Arrange Your Driver
You will need a ride to and from the clinic.
- Prepare Your Recovery Space
Make sure that you have lots of accessible food, water, entertainment, and other comforts. You should also plan to miss a little bit of time at work. To get an idea of the rough timelines you may face, check out the recovery section (Step 7).
- Get a COVID-19 Test
We will arrange for you to get a test at least 10 days prior to the day of your actual procedure. We are working very hard to protect our staff and patients, as you will read in the next section.
Step 5: The Day of Your Procedure
If you’ve been to see us before, you will notice that our check-in process is quite a bit different than it was in the pre-COVID days. If you’ve never been here before, you will notice that we’re taking sanitization, social distancing, and your health very seriously.
First of all, you will have likely met your surgeon and had any pre-op meetings via video conferencing. Pre-COVID, that would have been done in the clinic. But now, we are hosting all of our pre-op and post-op meetings via video call, so we can limit the number of people in our clinic.
As we mentioned earlier, we will also arrange for you to get a COVID test at least 10 days before your procedure. On the day of your procedure, you will be screened one more time outside of our office with a no-touch thermometer before you go inside.
Unfortunately, that’s where you and your driver will have to part ways. Minimizing the number of people inside the clinic means that there is no longer a waiting room area.
We also have two new rules that we’re afraid that we have to be strict about enforcing:
- There are no cell phones (for staff or patients) allowed in the clinic. Phones can be a significant source of germs, and it’s not a chance we can take in a surgical setting.
- We need you to be as prompt as possible for your appointment. If you’re running behind by more than 5 minutes, we may need to reschedule you.
Once you enter the clinic into our concierge area, one of our team members (wearing proper PPE) will check you in. Next, your treatment provider will take you right to your treatment room.
Step 6: Your Actual Tummy Tuck
Your procedure will begin with your surgeon or anesthesiologist administering anesthesia to ensure that your experience is completely painless.
Next, your surgeon will make their incision. The location and size will depend on which procedure you’re undergoing. Your primary incision is typically on one of your hips. If you’re undergoing a full abdominoplasty, another incision will be made in the belly button area. A smaller incision will be used for a mini tummy tuck.
From there, your surgeon will skillfully address any lax abdominal muscles and will use a microcannula to remove excess fat via modern liposuction techniques. Finally, any excess skin will be trimmed away before you’re stitched back up.
After your surgery, you can expect to spend the night in our very comfortable recovery area, under the care and watch of our specialist nurses.
Step 7: Your Post-op and Recovery Process
You should return home the day after your procedure. What the recovery process looks like from there will depend on the type of surgery you had. Prior to your surgery, you and your specialist will have had a detailed conversation about your post-op steps and tasks.
Of course, our surgeons will check in with you after your surgery to see how you are healing and progressing. Even if you feel great, and like you’re ready to return to your exercise or yoga routine, you should never do so without getting the official green light from your surgeon.
In most cases, our patients can get back to most activities after about 3 weeks of rest, and most will make a full recovery after about 6 weeks. But, again, that all depends on the surgery that you had and the work that was done.
If you had a skin-only tummy tuck, your recovery period will be shorter, as there is less healing that needs to take place. However, if your surgery involved any sort of muscle repair, your recovery process will be longer and you will need to be more cautious.
You will experience some mild discomfort in the first few days following your procedure, but it can be easily managed with the pain medication that we will prescribe for you.
Here is a broad overview of what you may experience:
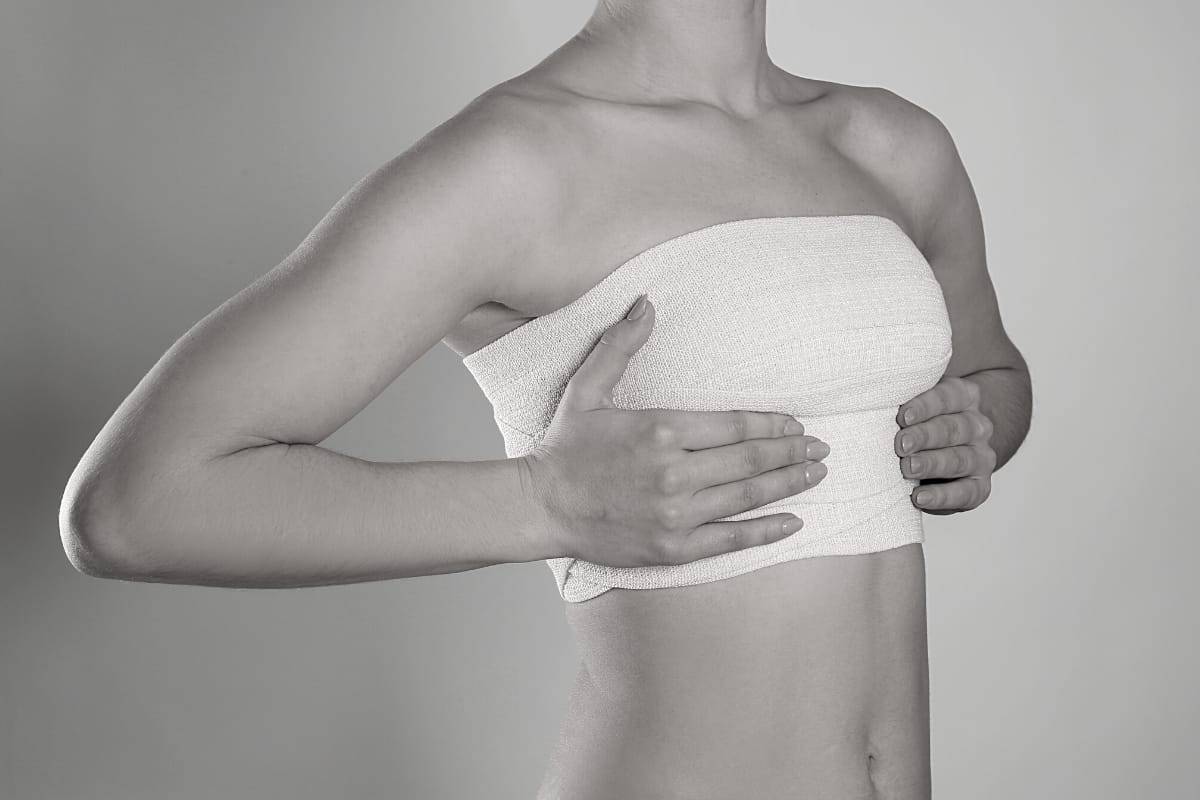
- Day 1: You will go home the day after your surgery wearing a customized compression garment to aid the healing process. This will need to be worn 22 hours a day. Be prepared to take it very easy for the first few days.
- Day 3: You will still be taking it easy and resting, but we encourage you to walk around the house to keep your circulation moving.
- Day 10: Most of your bruising, swelling, and discomfort should have subsided. You can probably resume light activities.
- Day 14: You can most likely return to work, but any heavy lifting should still be avoided.
- Day 21: Your compression garment will only need to be worn for 12 hours a day.
For expert tips on how to sleep comfortably after your tummy tuck surgery, read our guide, which explores effective sleeping positions and strategies to aid your recovery.
You can most likely stop wearing your compression garment completely and resume most physical activities after 6 weeks. But again, it’s still very important to get the official OK from your surgeon.
In the weeks following your surgery, you can definitely expect to start feeling great about how you look. Your midsection will now be free of the extra fat, loose skin, and stretch marks that were plaguing you. You will also probably really start to love the way clothes look on you again, and you may feel compelled to go shopping to get clothes that show off your new trimmer silhouette.
Looking to Get a Tummy tuck in Toronto? Your Journey Can Begin Right Now!
Our clinic’s reputation has been built over the last 20 years by showing over 10,000 patients what the best version of themselves can look like. We don’t believe in cookie-cutter or one-size-fits-all solutions, because we know there is no such thing in the world of plastic surgery.
Our surgeons’ results speak for themselves, but they are still frequently asked to speak as thought-leaders in the industry by major media outlets. Toronto Plastic Surgeons is highly-respected in the world of plastic surgery, and highly in demand from patients from across the world.
What can they do for you? Reach out to us today to find out!


